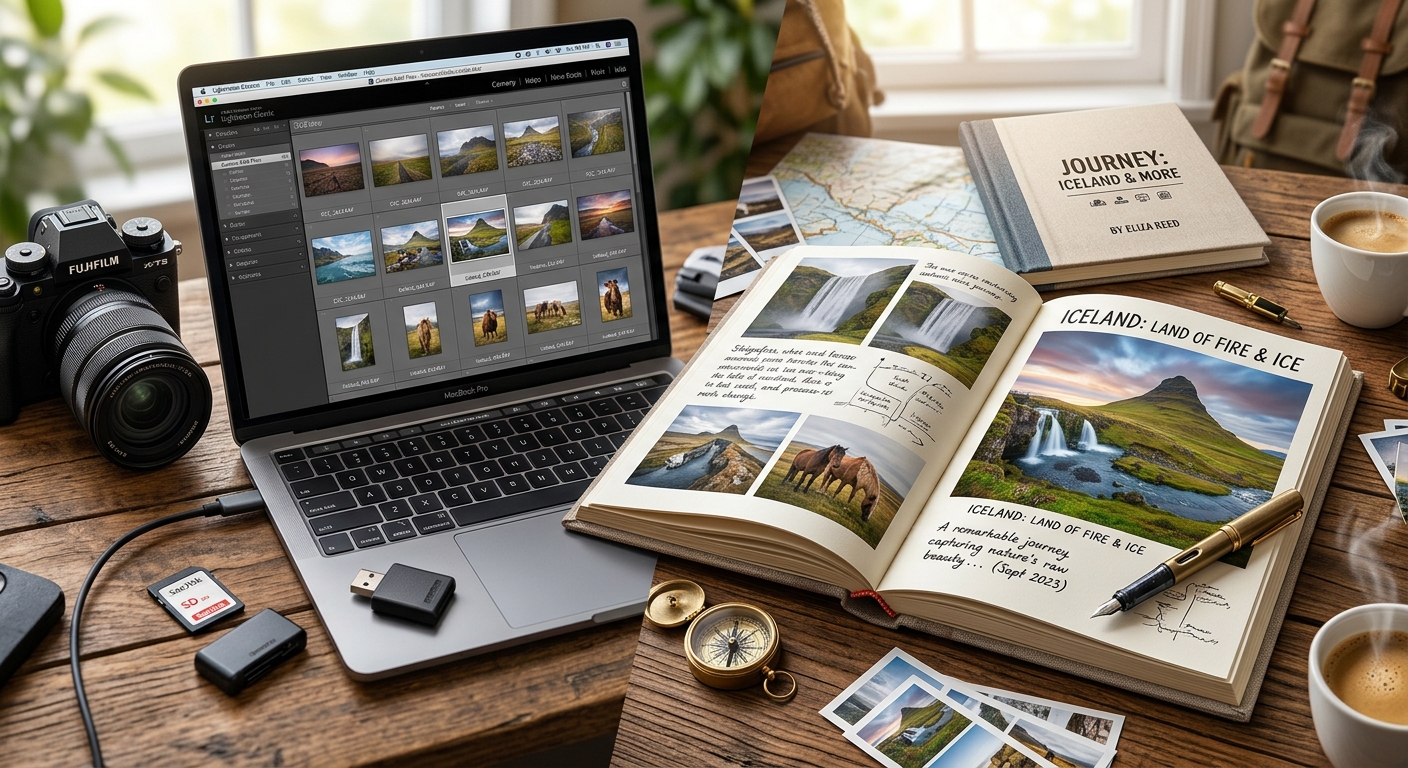
The photograph looked almost right on the camera screen. A tram curved past a tiled building. Late afternoon light touched the upper windows. Someone carrying groceries crossed the foreground. Later, back at your rented apartment, the sky looked too bright and the street felt strangely blue. The moment was there. The finished photograph still needed work.
This is where a thoughtful travel photography workflow earns its place. It carries an image from a memory card to a journal that feels true to the trip. Along the way, each file has a job. Your camera original holds the starting material. Your editing records hold your decisions. Your web export gives readers a photograph they can load comfortably on a phone between train stops.
Keep the Original, Shape the Story.
- Retain RAW masters so future edits can begin with the original capture.
- Back up both photographs and editing records before clearing memory cards.
- Publish smaller exports chosen for visual quality, compatibility, and page speed.
The Journal Begins Before You Open an Editor
A finished travel journal starts with attention. Notice how the station lettering relates to the building around it. Watch where people pause in a public square. Photograph the small details that help a place feel inhabited, including worn door handles, breakfast counters, and handwritten notices.
Give yourself a sequence to work with. A wide street scene establishes location. A closer frame introduces a person or activity. A detail adds texture. This rhythm gives your eventual journal more range than a folder filled with similar skyline photographs.
At capture, choose RAW if you want more room to interpret exposure, color, and tonal detail later. Many cameras can record RAW and JPEG together. That pairing can be useful on the road. The JPEG is convenient for an immediate preview or message. The RAW remains available for considered editing.
Storage space and shooting speed still matter. Check how your camera handles that pairing before a long day out. Carry enough memory cards, and avoid relying on a single card for an entire trip.
Why Photographers Keep RAW Masters
A camera JPEG already contains substantial processing. The camera has interpreted sensor data, applied a color treatment, and produced a viewable image. A RAW file generally retains more of the capture data for a compatible processor to interpret later. It still needs processing to become a conventional display image.
Understanding RAW helps explain why photographers keep these files after publishing. They preserve options. You can revisit white balance, change the relationship between bright and dark areas, or create a different crop from the full captured frame.
Think back to that tram photograph. The camera may have rendered shaded pavement with a cool cast. Starting from RAW gives you greater flexibility to adjust white balance than working from a finished JPEG. You may also recover some bright detail that appeared absent in the initial preview, provided the sensor actually recorded it.
There are limits. RAW cannot restore a subject that missed focus. It cannot guarantee detail in fully clipped highlights. Good exposure and steady technique still carry the photograph.
The deeper reason to retain a master is time. Your taste may change. Your editing software may improve. A photograph prepared for a narrow blog column today may become part of a printed journal later. Keeping the original means those future versions can begin with the strongest available source.
Make a Reliable Copy Before Making Creative Decisions
At the end of a shooting day, copying files deserves more attention than choosing a preset. A lost memory card is frustrating. A lost week of photographs can change how you remember the trip.
Create a folder structure that makes sense without opening your editing application. A trip folder can contain dated location folders, with separate areas for originals and exports. Names such as “2026-05-14-porto” remain readable months later.
Use this sequence before formatting a card:
- Copy the camera files to your working storage while preserving their original filenames.
- Create another copy on a separate device or in cloud storage.
- Confirm that transfers have completed and open files from both destinations. Use checksum verification when your backup software supports it.
- Keep the memory card intact until you have checked the copies and their storage locations.
- Format the card in the camera when you are ready to reuse it.
Two folders on one laptop do not protect against losing that laptop. A portable drive helps, but storing it in the same bag leaves both exposed to the same loss. When possible, maintain an additional copy somewhere separate.
Hotel internet can make cloud backup slow. Check upload status rather than assuming a folder has synced. An upload waiting in a queue is still only a local file.
Edit for the Place You Remember
Begin by selecting photographs with a clear purpose. Keep the frame that says something about the afternoon. A technically tidy image may contribute less than a slightly imperfect photograph with a meaningful gesture.
Then work through basic adjustments. Set white balance. Bring exposure into a useful range. Adjust highlights and shadows with restraint. Straighten architecture when it serves the composition, and check that perspective corrections have not stretched people near the edges.
A travel journal benefits from visual continuity. If every frame has a different color treatment, the reader keeps adjusting to your editing. Build a coherent sequence while allowing each scene to retain its own light. A shaded courtyard should not need to look identical to a sunlit waterfront.
Non-destructive editing lets you revise those choices. Depending on your software, adjustments may live in a catalog, a database, a sidecar file, or within a supported file format. Official guidance on editing metadata explains how processing instructions can be stored separately from proprietary camera RAW files.
Back up those instructions too. Keeping the RAW without its editing records preserves the capture, but may leave you rebuilding hours of work. If you move photographs between computers, check which files and catalogs your particular editor needs.
Give Each Image Format a Clear Job
File conversion works best when you know where the image is going. Your archive, editing application, and website have different needs. A large file can be useful in one place and inconvenient in another.
Which File Belongs at Each Stage?
| Format | Useful Role | Main Consideration |
|---|---|---|
| Camera RAW | Original capture and future processing | Requires software that supports your camera model |
| TIFF | High-quality rendered master or editing handoff | Often large and unnecessary for routine web delivery |
| JPEG | Broadly compatible sharing and web photography | Lossy compression can leave visible artifacts |
| WebP or AVIF | Efficient website image delivery | Check publishing support and fallback behavior |
Changing a filename extension does not convert an image. Export through software that can decode the source and write the destination format. Converting a JPEG into TIFF also cannot recover information already discarded during JPEG creation.
For proprietary RAW files, confirm that your editor supports the camera before leaving home. A recently released camera may need a software update. DNG conversion can help some compatibility workflows, but keep the original camera files until you have tested the results and decided how conversion fits your archive.
Export for the Screen Your Reader Actually Uses
Your journal does not need to send a full-resolution camera image to every visitor. Export dimensions should reflect the layout and the displays you expect readers to use.
If a photograph appears at roughly 900 CSS pixels wide, a version around 1800 pixels wide can suit a display with twice that pixel density. Smaller responsive versions can serve narrower screens. Treat these as layout decisions, then inspect the result on real devices.
Use sRGB for a straightforward web workflow, and embed its color profile when your exporter supports it. Reduce compression quality gradually while checking skies, fine railings, foliage, and building textures. These areas often reveal damage before the main subject does.
JPEG remains a useful compatibility choice. WebP and AVIF can offer more efficient compression, though results depend on image content and encoder settings. Technical guidance on web image formats explains their uses and compatibility considerations. Let your publishing system provide suitable alternatives when it supports them.
Always generate new delivery files from your editing source or a high-quality master. Repeatedly opening and saving a compressed JPEG can accumulate quality loss.
Build a Journal With Space to Breathe
A strong sequence gives readers somewhere to stand. Open with a photograph that establishes the place. Follow it with writing that adds experience the image cannot carry alone: the sound of wheels on rails, the wait for a table, the reason you returned to a particular street.
Use these finishing checks before publication:
- Arrange photographs so wide views and close details create a comfortable rhythm.
- Write captions that add context, including accurate locations and relevant dates.
- Add useful alt text that describes the image within the article’s context.
- Review location metadata before publishing photographs of private or sensitive places.
- Check crops, text size, loading behavior, and image sharpness on a phone.
Include image width and height in your publishing setup where possible. Reserving space helps keep the page from shifting as photographs load. Load images farther down the page lazily, while allowing the opening image to appear promptly.
Leave enough room between photographs for each one to register. A travel journal can feel generous without containing every worthwhile frame from the trip.
Leave Room for the Next Version
Once the journal is live, keep the published text, chosen exports, RAW masters, and editing records organized together. A small note recording export dimensions and color settings can make a future update easier.
Revisit the archive occasionally. Check that backups remain readable and that replacement drives receive complete copies. Storage is an ongoing habit, even after the trip has become a memory.
The tram photograph now has a place in the story. Its color feels right. The tiled facade holds its detail. The page loads comfortably, and the caption gives the passing moment some context. Behind that finished image, the RAW master remains available. Next year, you may see the afternoon differently. You will still have somewhere to begin.